These We Were Here Tomorrow walkthrough puzzles cover control sequences, research machines, key cards, symbols, lasers, and gravity-changing routes in the Norček Facility. For the control test and the route around it, see the Rehabilitation Suite walkthrough. For the circuit board, resin, floppy disc, dials, and printer route, see the Research and Development walkthrough, with individual puzzle solutions linked below. If you are looking for We Were Here Tomorrow puzzles in Exotic Matter Laboratory, Ring Corridor, or Office of Tomorrow, the chapter sections below explain the matching tasks and how to coordinate with your partner.
How do you solve the Rehabilitation Suite puzzles?
How do you complete the monitor control sequence?
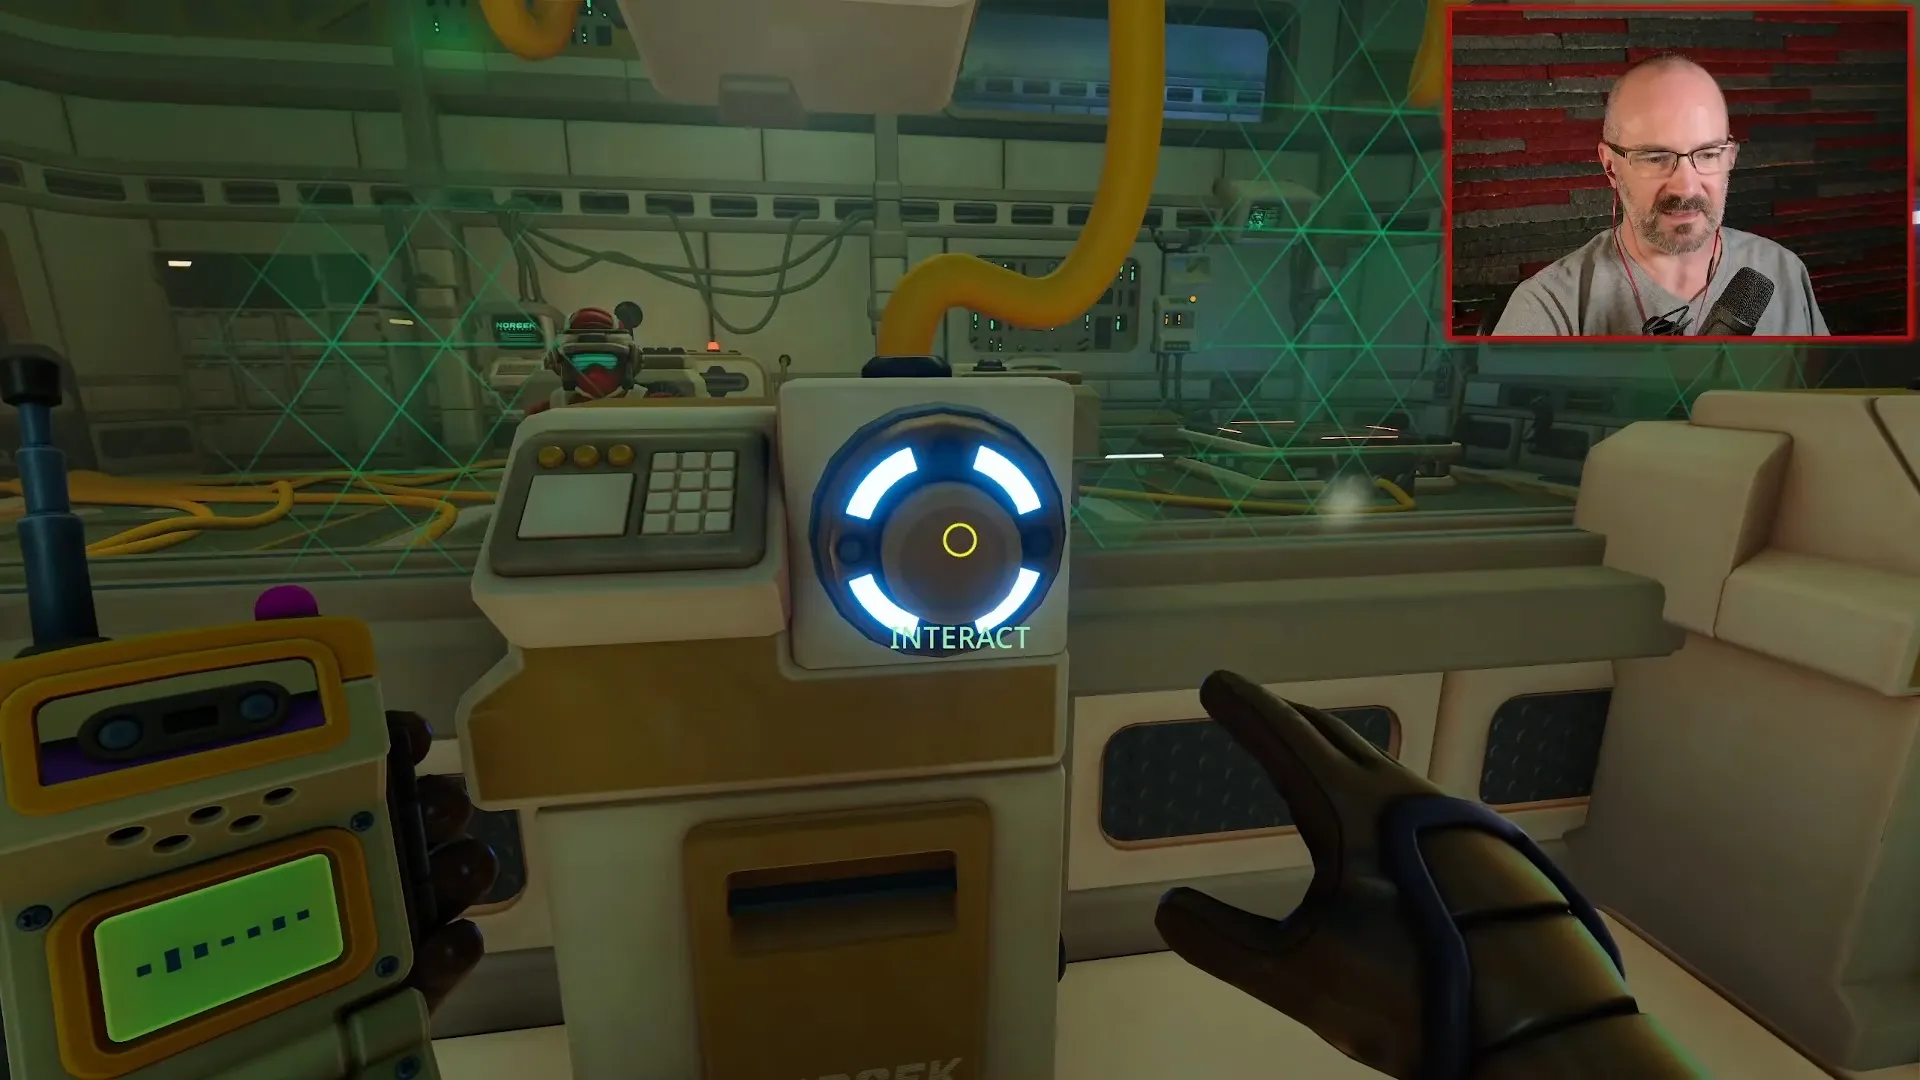
Activate the three linked monitor buttons, then have the reader call out the cycling icons while the other player operates the matching controls in order. Check all four controls, including the horizontal one, and reread the sequence after a failure until the door checks are complete; the Rehabilitation Suite control sequence walkthrough explains the inputs and retries.
How do you solve the Research and Development puzzles?
How do you match the circuit board components to their sockets?
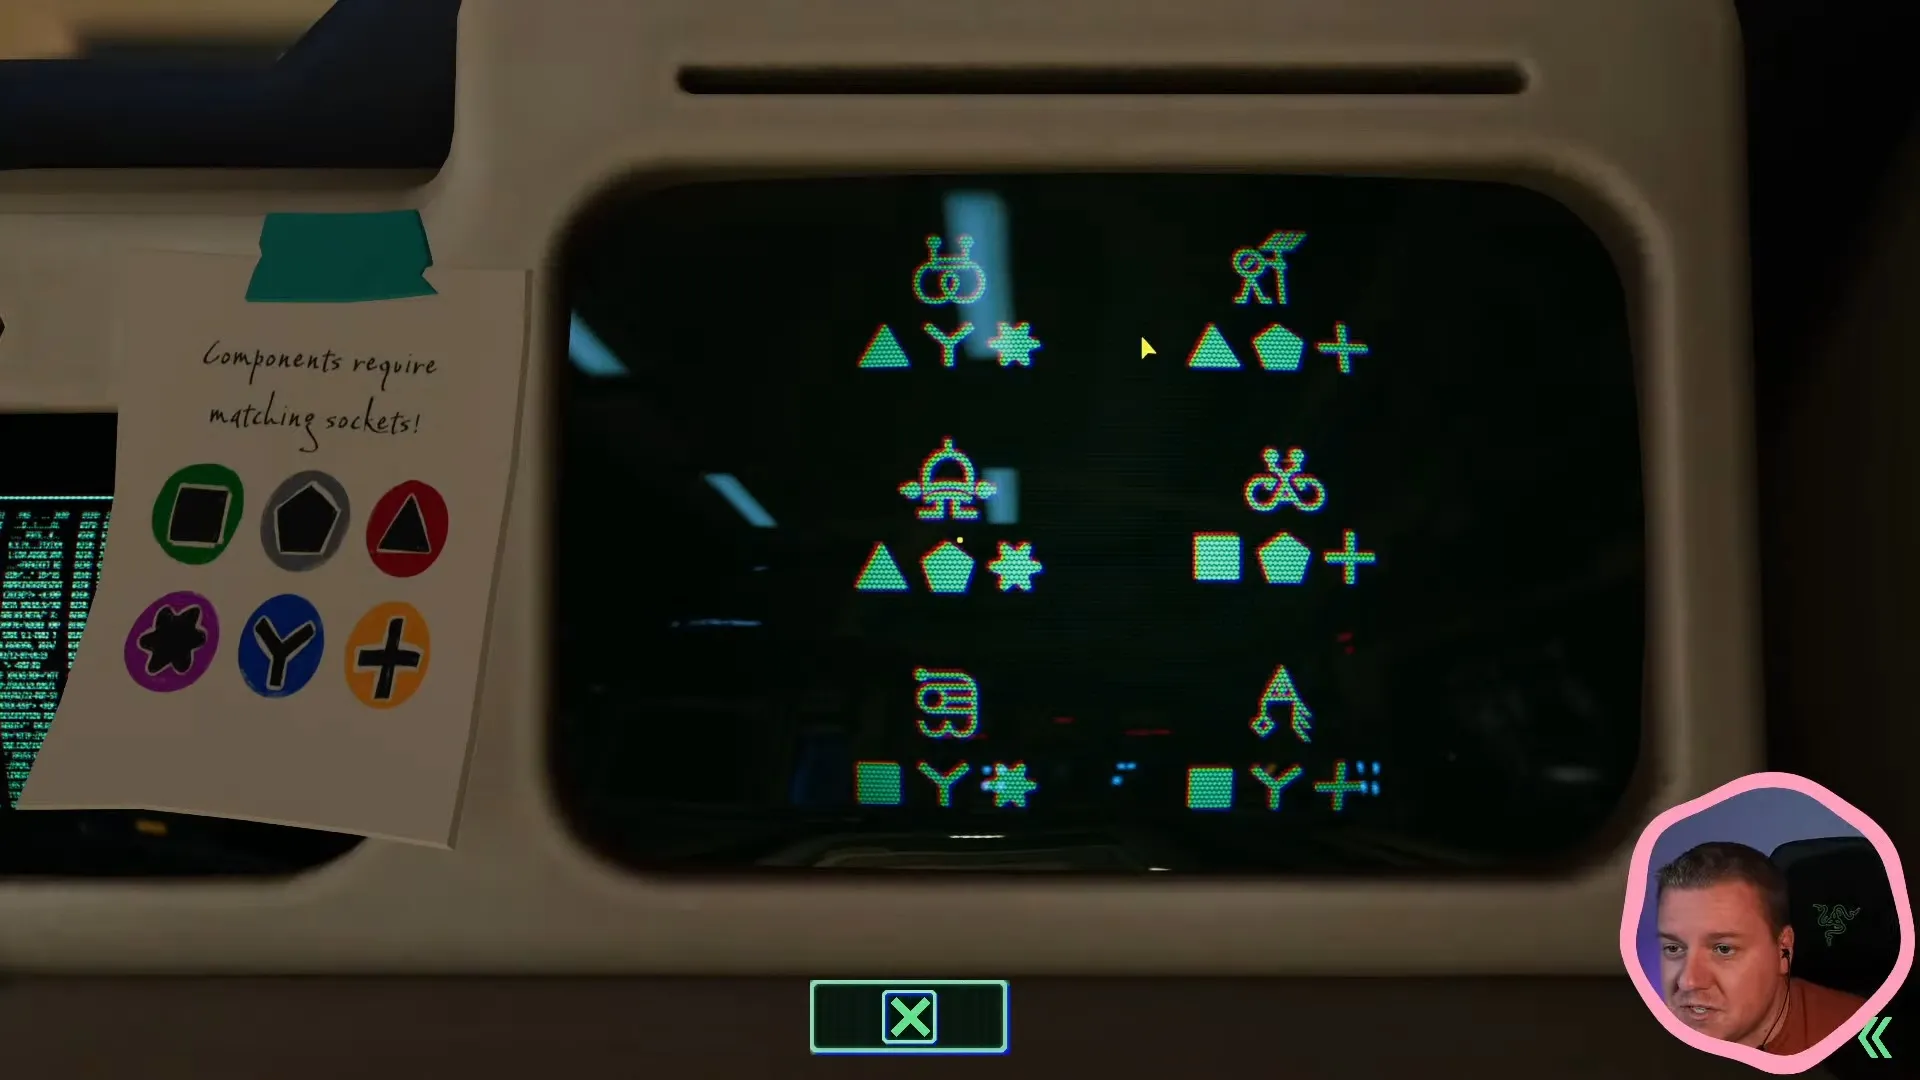
The small player places components inside the board while the full-size player reads the monitor: each socket needs both of its indicated shapes among a component's symbols. Use each component once and resolve overlapping matches by elimination, then test the circuit outside; the Research and Development component sockets walkthrough gives the illustrated matches.
What is the 3D resin recipe?
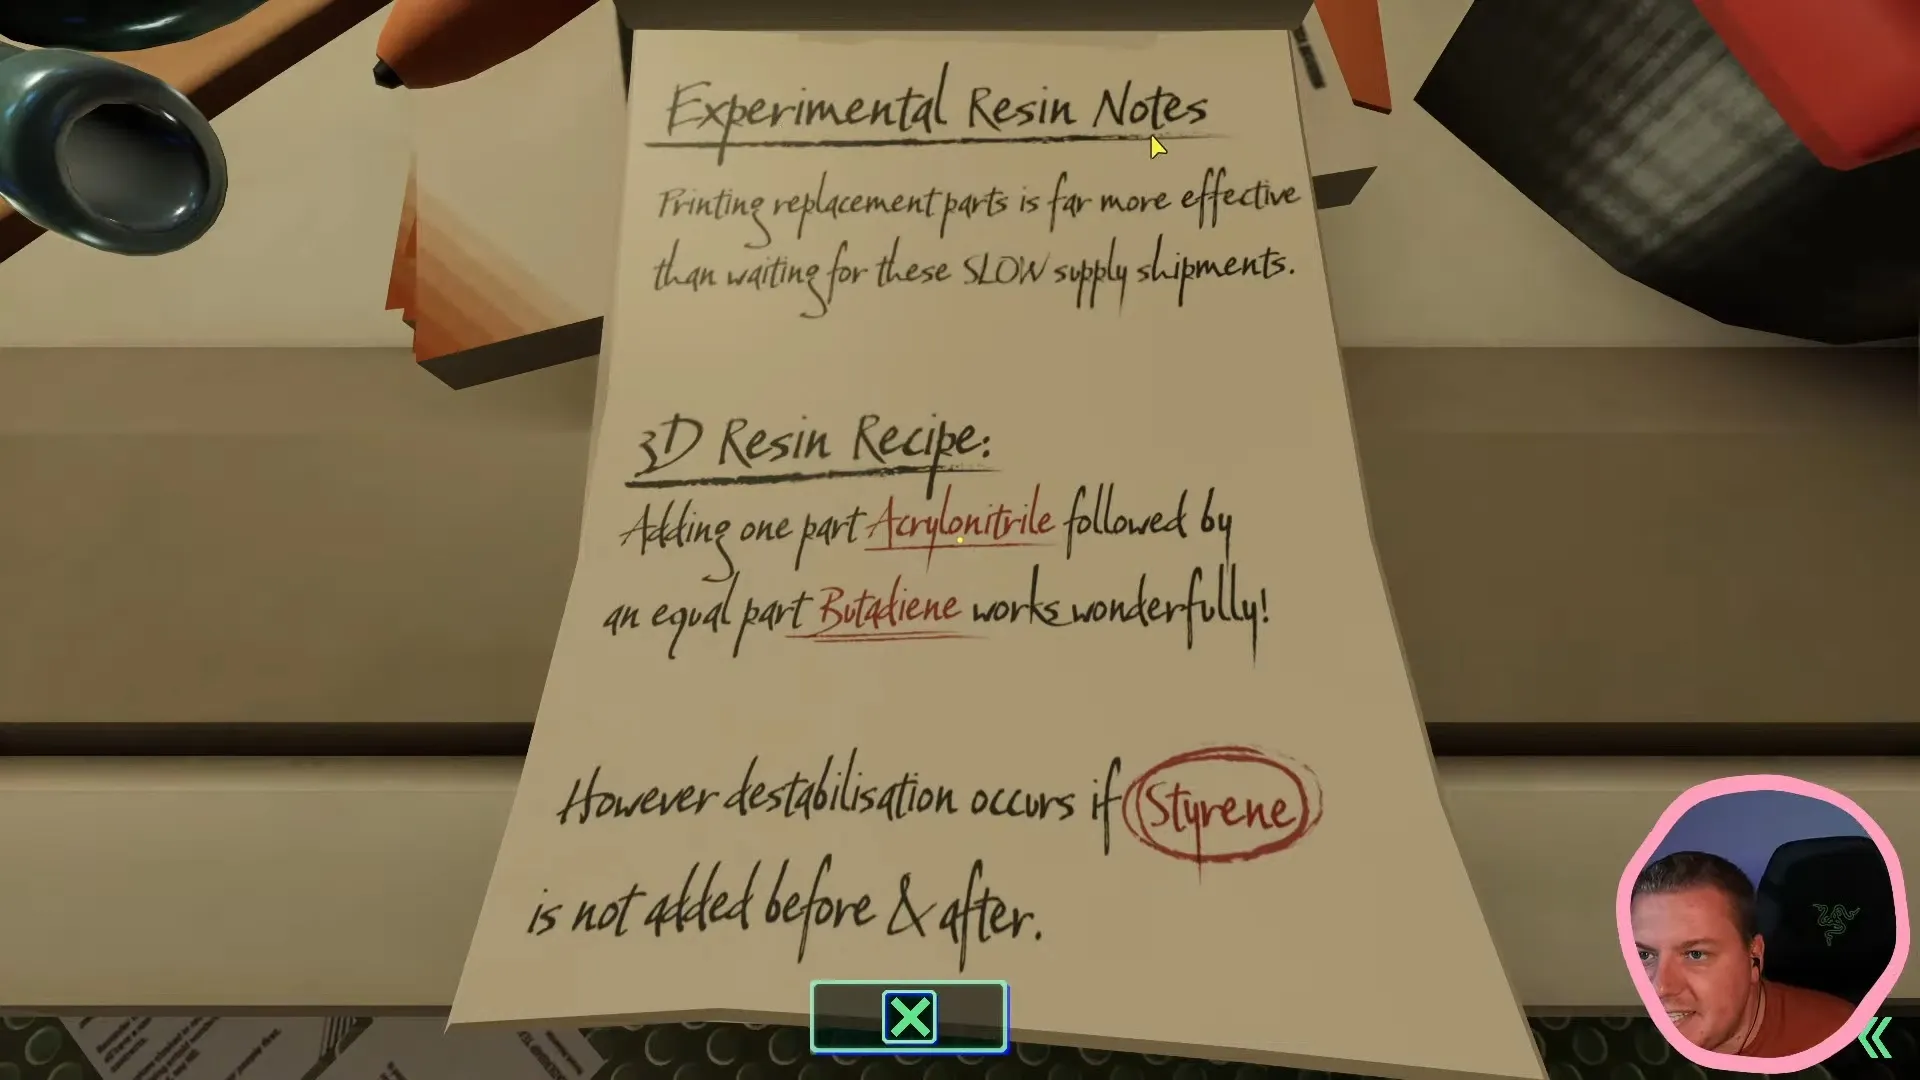
Add one portion each of styrene, acrylonitrile, butadiene, then styrene, using selector settings 4, 3, 1, 4. The small player positions the blue container while the outside partner dispenses, then returns it to the intake for mixing; follow the 3D resin recipe for the note interpretation and machine steps.
How do you make the floppy disc fit the outside computer?
Carry the disc back through the transport shortcut and enlarge its carrier so the disc becomes full-size, then insert it into the outside computer and activate the controls. Shrink a player again to reach the newly available dial station; the Research and Development floppy disc size walkthrough covers the return route.
How do you stop the direction dials correctly?
The small player operates the internal lever and reads the stationary targets while the outside player locks each rotating dial on its matching direction. Reread the targets after a reset and include diagonal directions at the second window; the Research and Development direction dials walkthrough explains both stations.
How do you print the green key card?
Have the outside player compare the reference grid while the small player moves the flashing cursor and toggles cells with the center button, toggling an unwanted cell again to correct it. Complete the pattern, collect the card, and return through the teleporter to enlarge before taking it to the prototype room; the Research and Development printer key card walkthrough covers the controls and return trip.
How do you solve the Exotic Matter Laboratory puzzles?
How do you collect the key cards and replace the missing fuse?
For the purple card, have one player work the upper lever while the other pulls out the lower block and follows the passage behind it; for the fuse, stop the fan with goo, use the rising block to reach the upper controls, and lower the robotic hand so your partner can take its fuse. Install the fuse, open the anti-gravity room with the large lever, reach in for the green card, then insert both cards and operate the paired exit handles.
How do you match the symbol panel and set the numbered dials?
Have one player describe the displayed symbols while the other shoots the matching buttons, distinguishing swirl direction, eyes, head strokes, and horn curves. Complete both symbol sets, rereading the display after a wrong shot changes it, then communicate the numbered positions and set the three dials to 4, 2, 3.
How do you connect the laser across the differently oriented floors?
Build one continuous chain through the numbered blue markers, using spheres to keep the beam on the same plane and purple pyramids to transfer it between players' planes. Leave earlier pieces installed, align the sliding receiver with your partner's rotating pedestal, and use the farther receiver where the room's corner blocks the nearer route.
How do you configure the master emitter crystals?
Follow the computer's order: mirror, serene stone, fiery heart, routing through the spiky crystal with extra small balls on top, the smooth rounded stabilizing crystal, then the middle two-cluster heating crystal. Keep the beam continuous with spheres and pyramids, bypass the red room at the start to preserve its receiver for the return path, and send the beam back into the central emitter input to destroy the blocking door.
How do you solve the Ring Corridor puzzle?
Which ring buttons open the doors?
Pull the lever beyond ring six to reveal the required symbols, then press ring 4, ring 1, and ring 5. One player identifies the outside symbols—hollow circles around a larger circle, crosshairs with outward arrows, then overlapping circles with horizontal lines—while the other operates the inside buttons.
How do you solve the Office of Tomorrow puzzles?
How do you light the exit indicators across the gravity-changing offices?
Rotate the purple platform to send a partner across for the first control, then connect the red L-shaped floor and open the blue route by shooting a cube through the upper purple room's window into its socket. Use the paired handles and blue platform to expose the distant button for your partner to shoot via the red route; for the last indicator, hold the lever near the bottom of the purple steps while your partner turns left at the large purple T-junction, follows the stairs into the opened upper doorway, and operates the wall control before you hold the door again for their return.